Power on Remote Server
As you think today’s technology, we are working from remote locations. Physical server will locate somewhere in thousands of miles long. If you think an emergency situations such as server is shutdown UN-unexpectedly it’s may due to power issue, it’s may be due to cooling issue and so an.. in this situation you have to wait for the engineer who will come and switch on the server. If you think this server is serving the data for the production then..!! Don’t worry by doing below steps you can switch on your remote server without having the physical access to it.
By mistake, when you shutdown a system instead of rebooting, you can use Wake-on-LAN to power on the server remotely. Also, If you have a server that don’t need to be up and running 24×7, you can turn off and turn on the server remotely anytime you want.
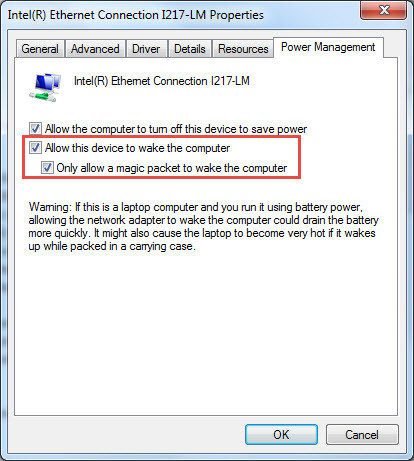
We have to enable the Wake on LAN using magic packet settings in BIOS and NIC settings.
- You can use Wakeonlan when a machine is connected to LAN, and you know the MAC address of that machine.
- Your NIC should support wakeonlan feature, and it should be enabled before the
shut down. In most cases, by default wakeonlan is enabled on the NIC.
BIOS Settings


In Windows Operating System
Go To. Start –> Computer –>Right Click –> Manage –> Device Manager –> Select Ethernet –> Right Click

In MAC Operating System

In Linux Operating System
~$ sudo apt-get install ethtool
~]# yum install wol*
~]# ethtool ens33
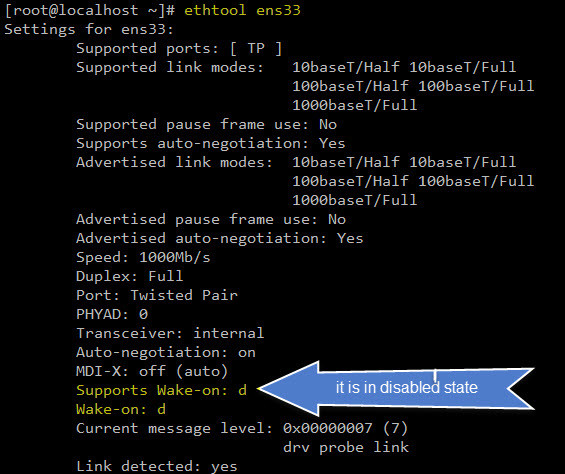
option d = disabled
option g = enabled
# ethtool -s eth0 wol g
After all the above settings are done. Download and install application below application for windows OS. Select Language and Click Ok
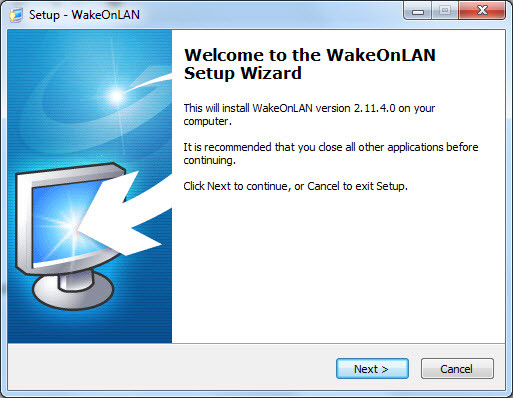
Click Next
 Click Next
 Click Next
 Click Next
 Click on Install
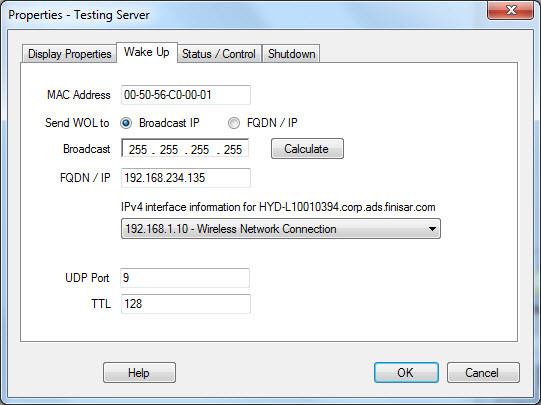
open application and File menu –> New Host
Install wakeonlan package for ubuntu
$ apt-get install wakeonlan
$ wakeonlan 00:1f:d0:e8:c1:24
Sending magic packet to 255.255.255.255:9 with 00:1f:d0:e8:c1:24
using above command we can send and magic packet
Install wol package for RHEL / Centos / Fedora / Linux Mint
# yum install wol*Please provide your valuable comments…